
This fall leaf garland is quick, easy and a cute piece of fall decor anyone can make!
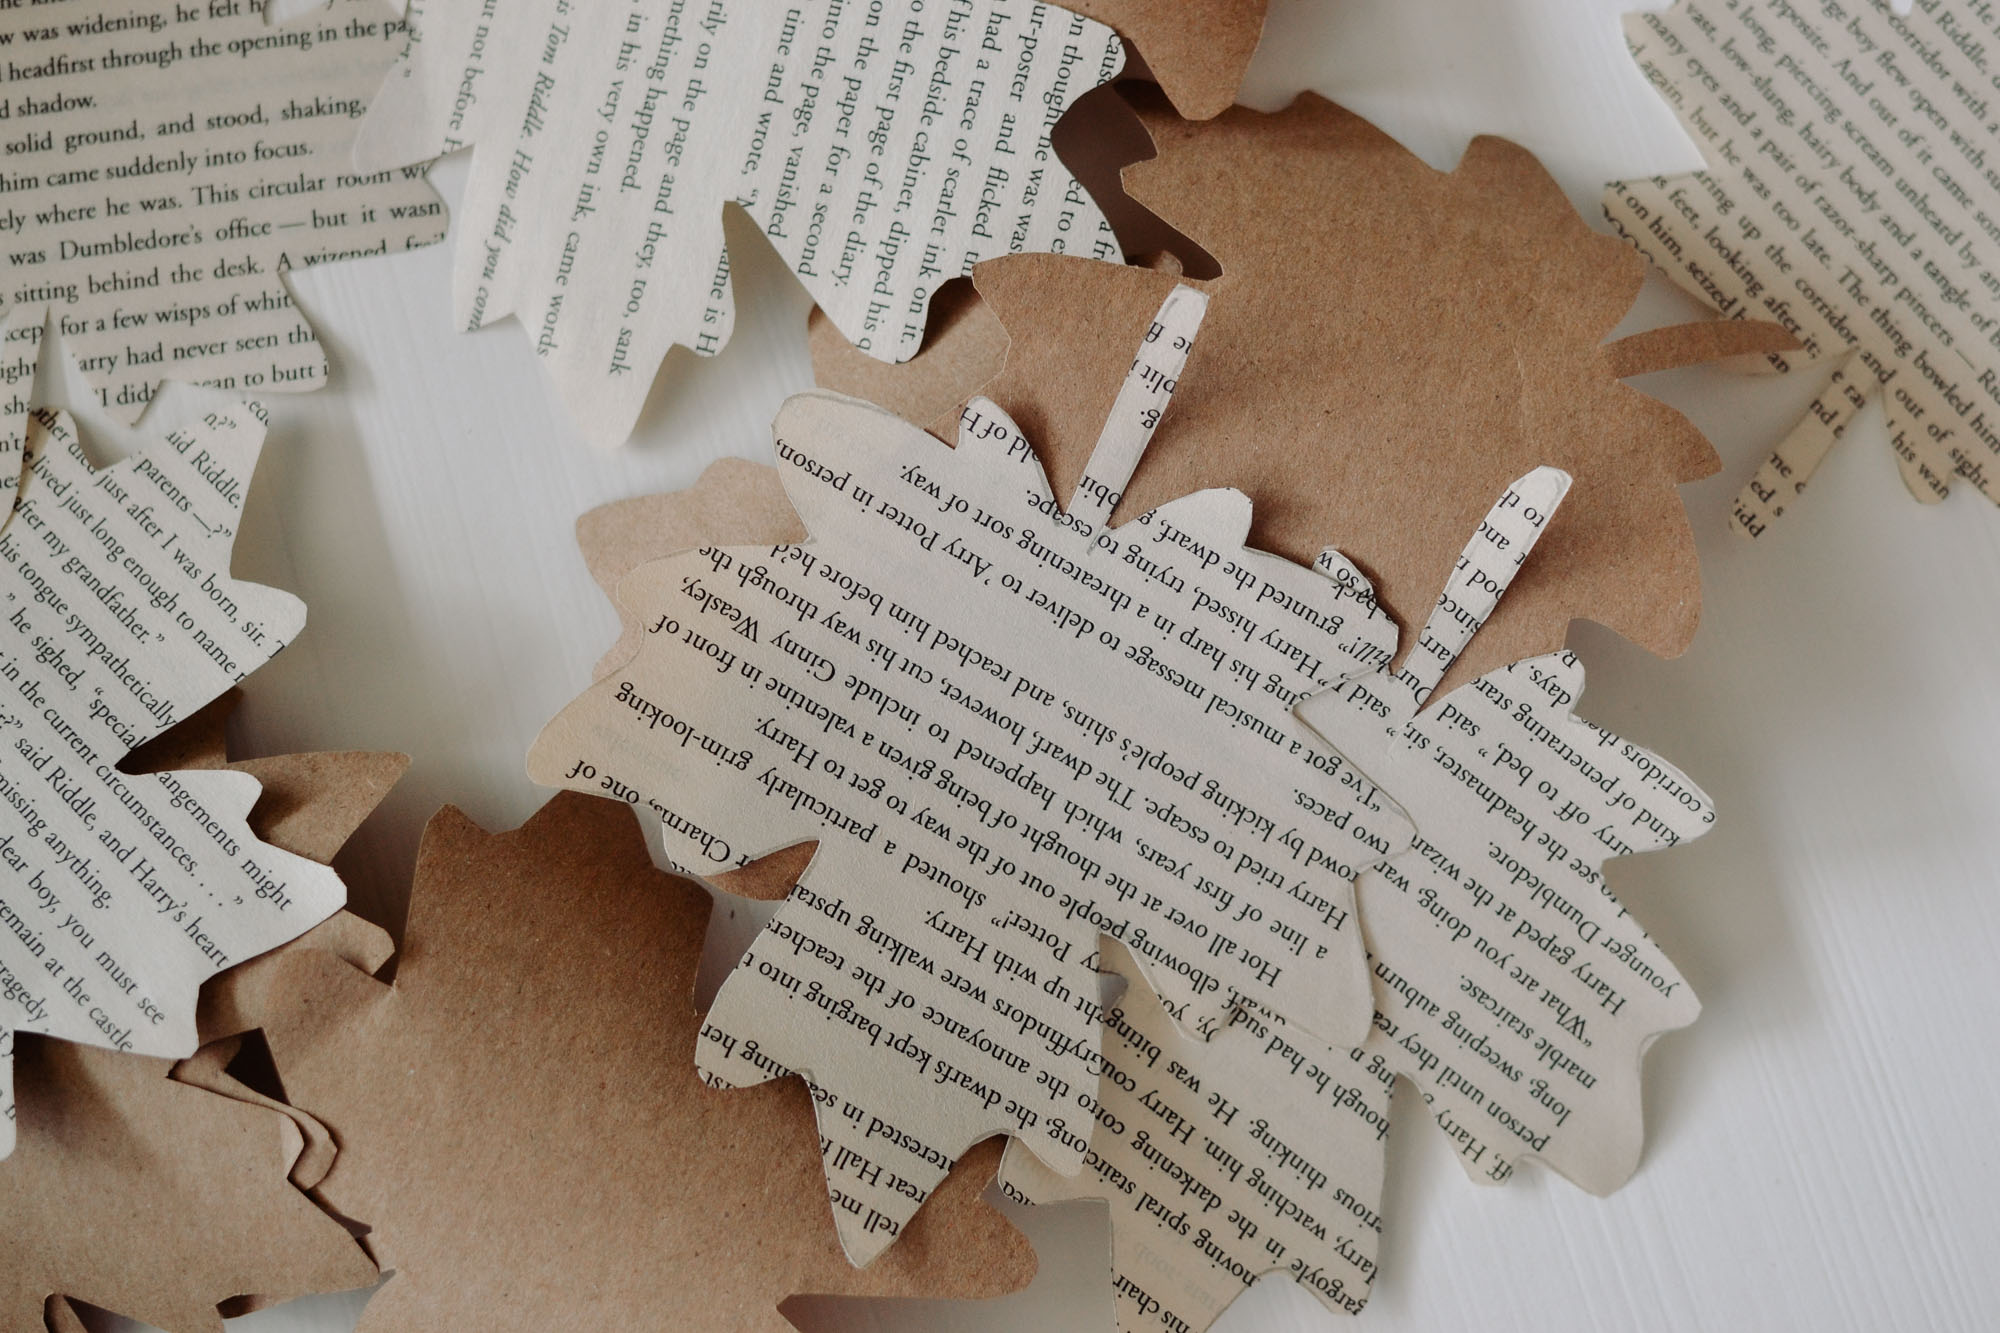
While I love decorating for the seasons, I don't love having too much clutter. Even worse, having to find a place to store things until next year. That's why instead of spending $$ at the store on seasonal decor each year, I prefer to find things in nature to use, or make inexpensive and easy decor like this easy leaf garland!
What you need to make a simple leaf garland with paper

Twine
A leaf shape to trace (click here to print the one I used), print on cardstock if you have it to make it easier for tracing
Brown paper, I used a roll of brown craft paper but you could use cardstock or brown paper bags if you have them, get creative!
An old book, look for one with aged/yellowed pages
Scissors
Hot glue
Parchment paper for under your garland while gluing, optional but recommended
How to make a simple leaf garland with paper
Start by tracing your leaf on the brown paper, you can do as many as you want depending on how long you want your garland. I traced 6 leaves on brown paper.
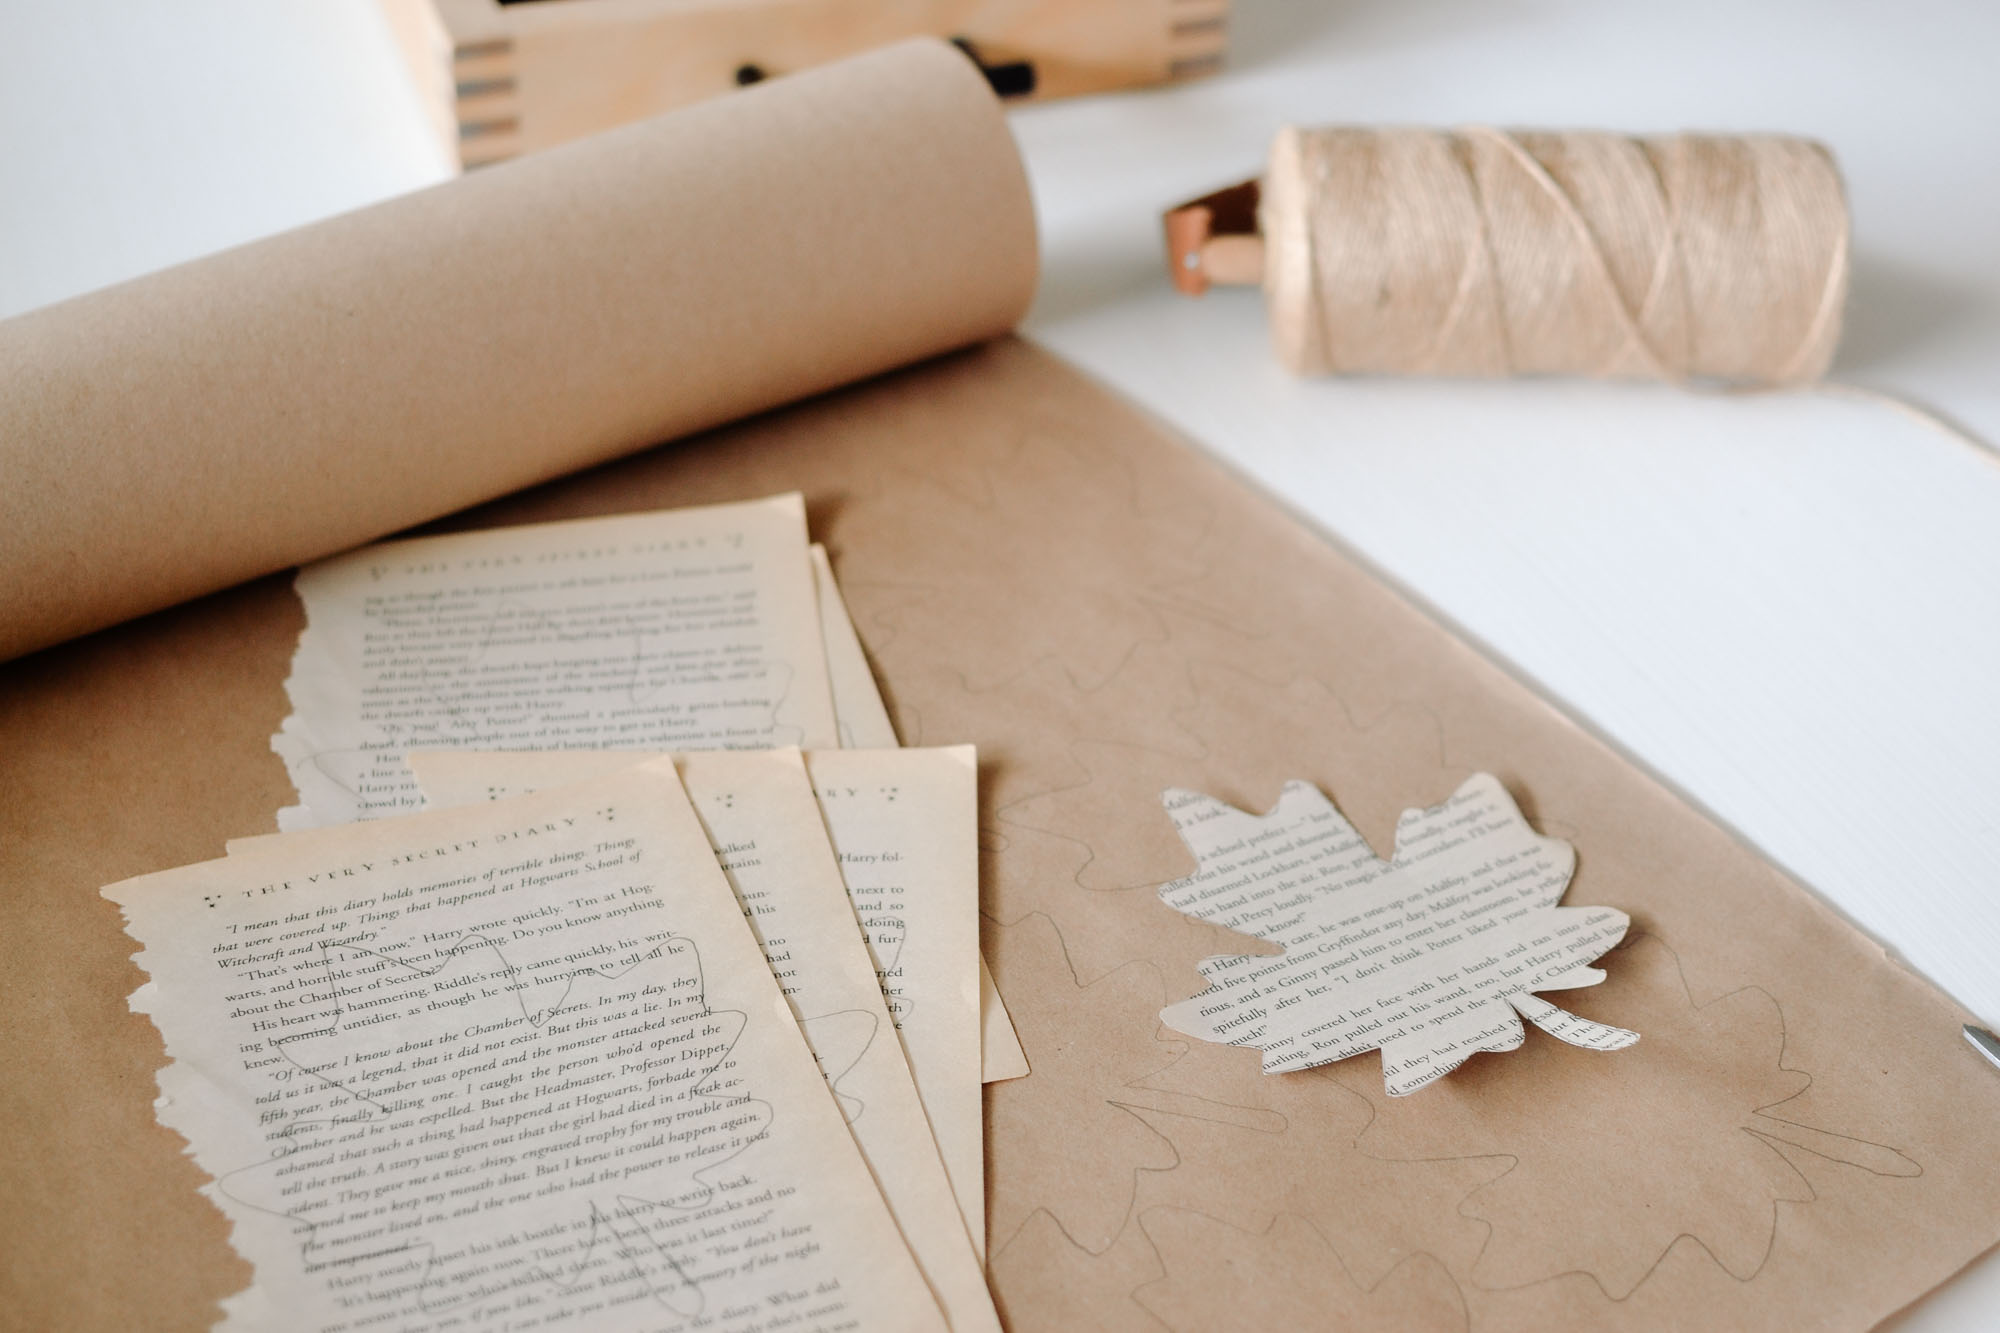
Next, rip out the pages from the book you will be using. Again, you can do as many as you want, I did 6. Trace the leaf on each page.
Cut out all your leaves.
Place your parchment paper on the table and lay out the twine on top. If you want to, measure where you will place each leaf on the twine and make a dot on it with a marker. I recommend gluing each leaf about 5 inches apart from each other. I skipped this step but did have to go back and move a leaf over to make it look more evenly spaced.
Using a hot glue gun, add a small amount of glue on the tip of a leaf and gently press onto the twine. The parchment will keep your garland from sticking to the table.
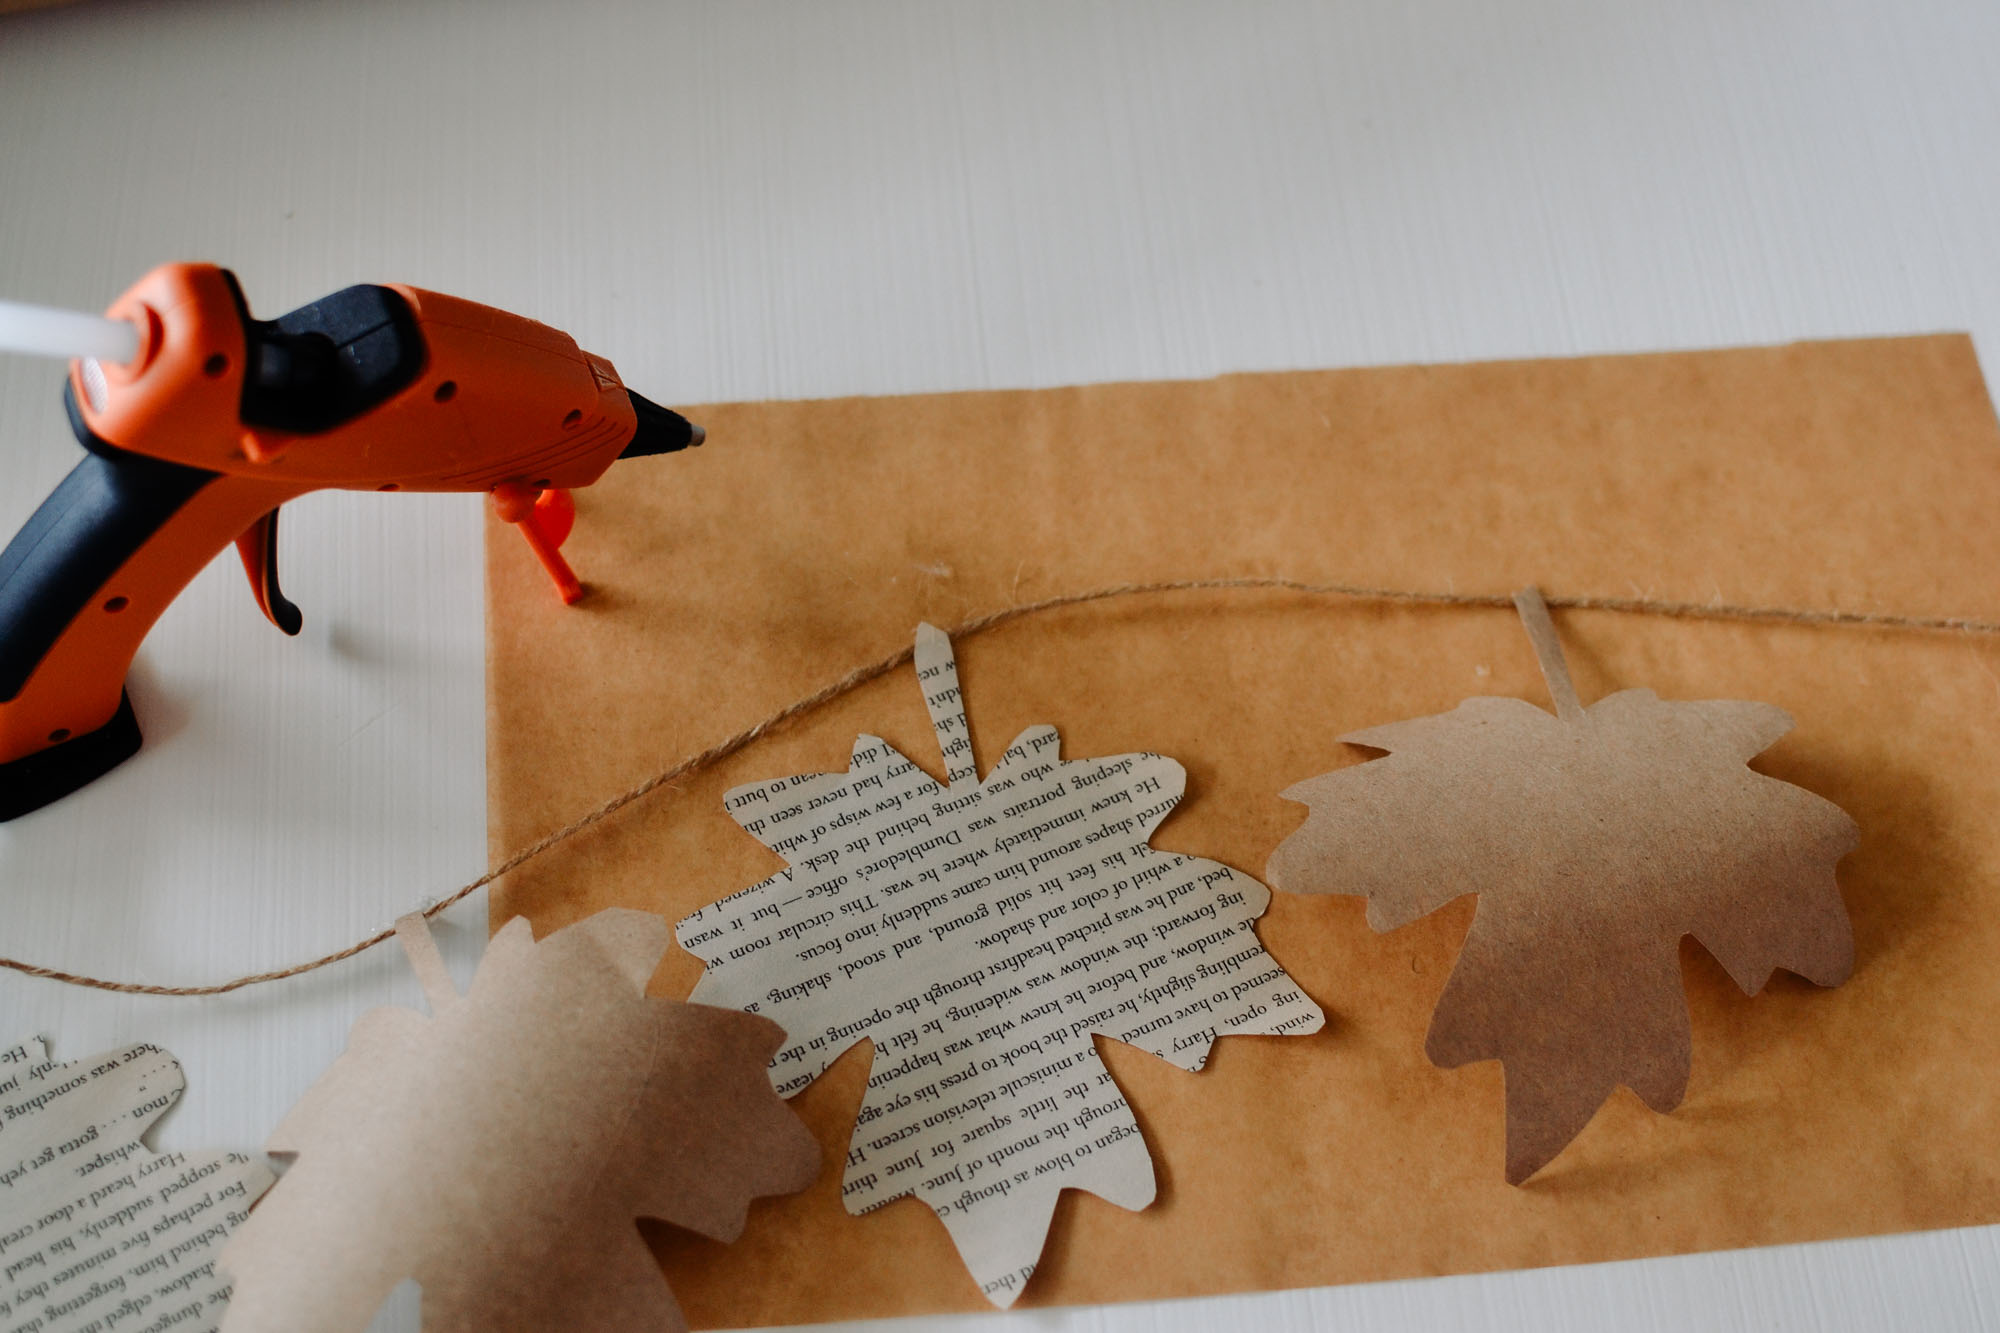
Repeat with each leaf until you have used them all.
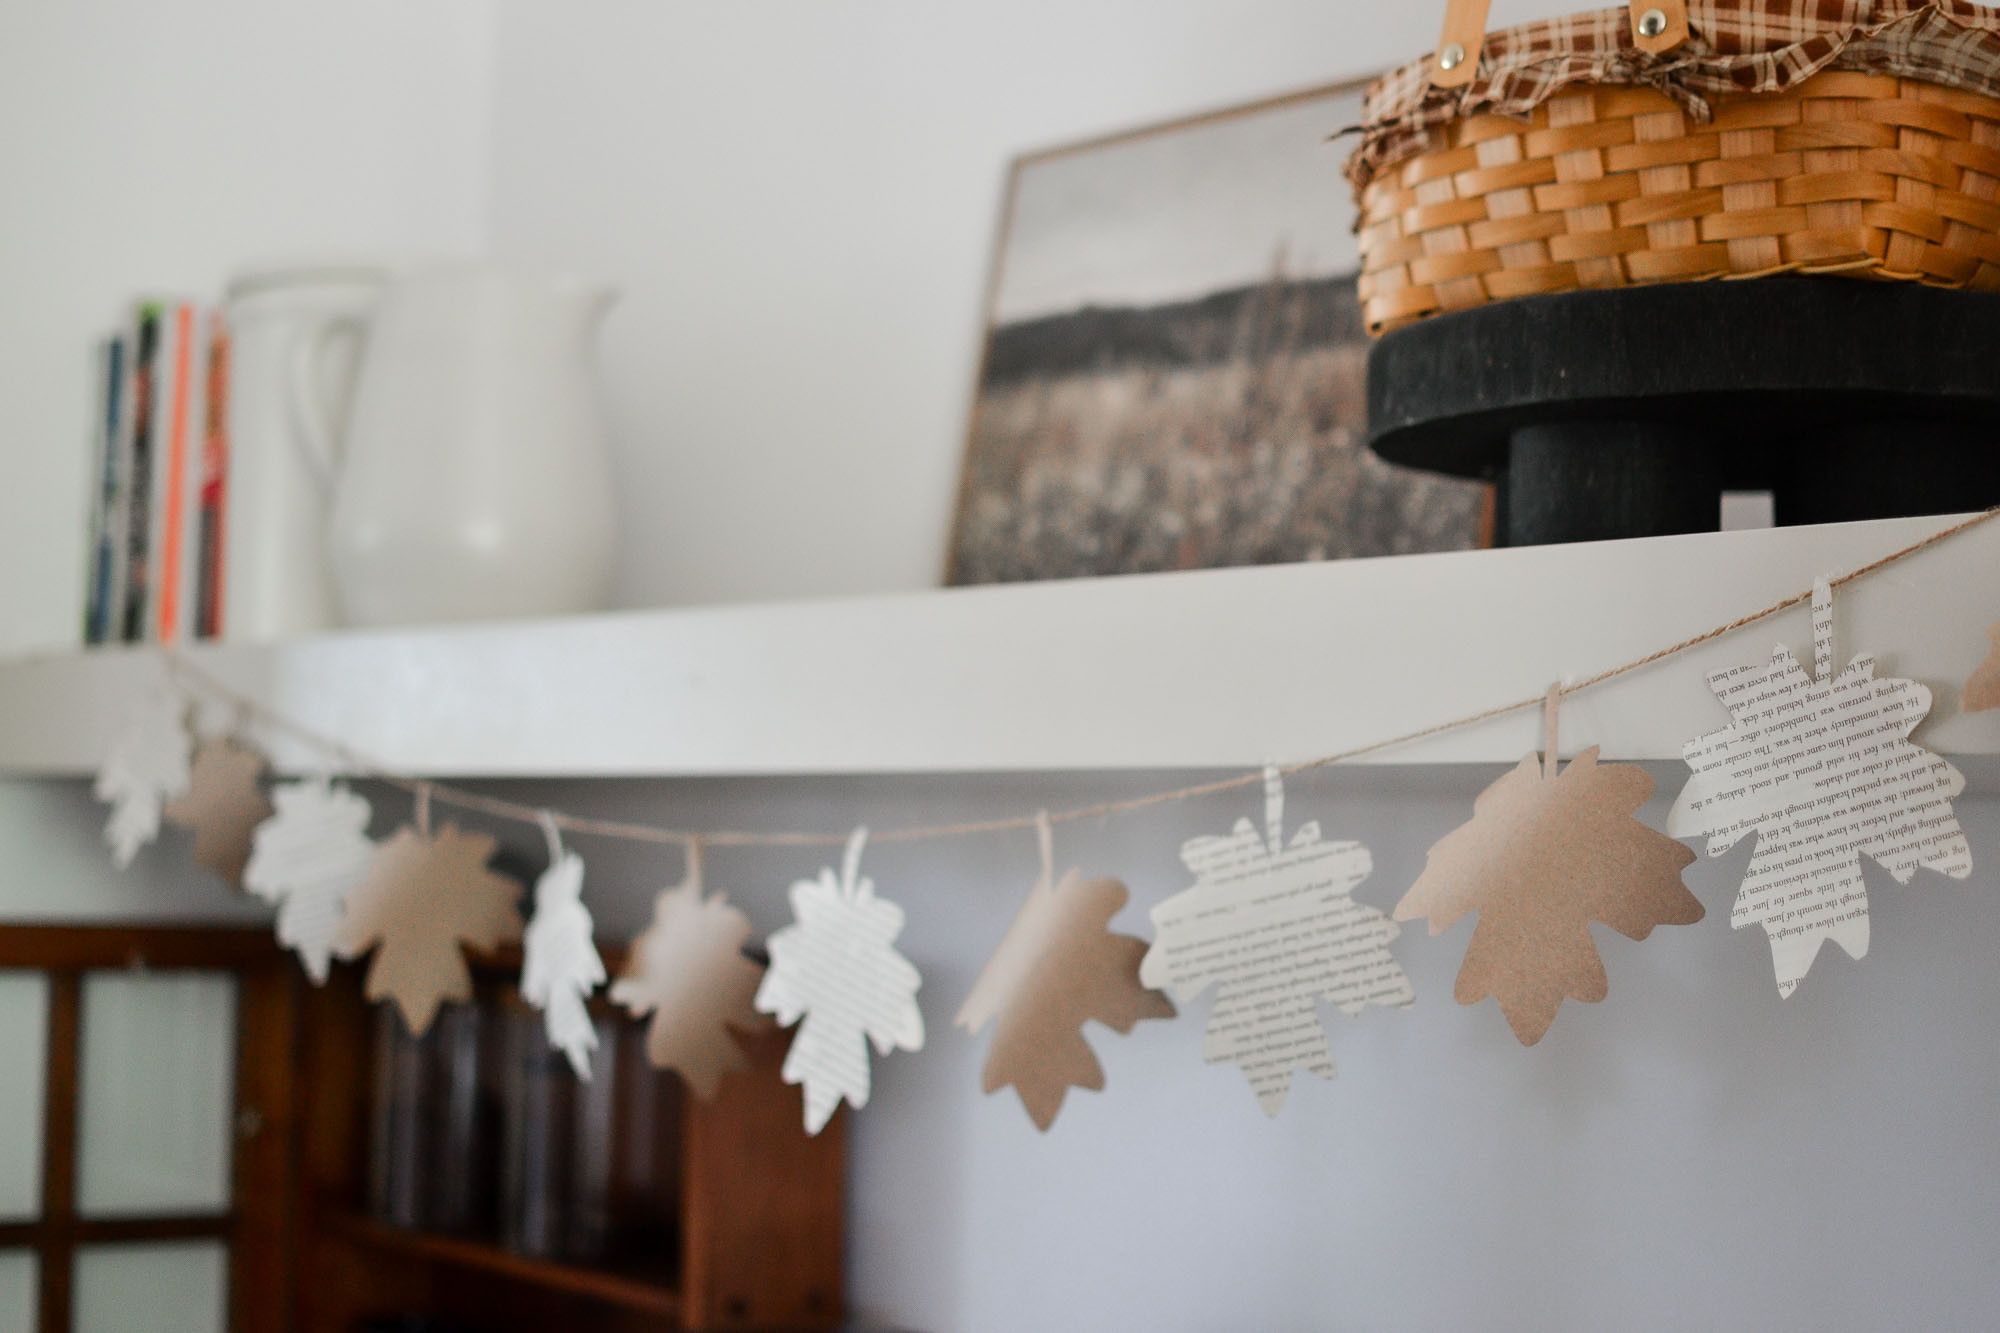
Cut your twine and hang your garland!



Leave a Reply